Karen Hochman Brown [American, b.1958] is a Los Angeles-based photographer using software to manipulate her photographic images. Hochman Brown received her B.A. in Art from Pitzer College, has continued to study math, and did post-graduate work at California College of the Arts and Crafts where her Master’s thesis introduced Construction Geometry via Art, a Junior High School curriculum she taught at Pasadena Waldorf School. She continued to study the interconnections of math and art via technology at UCLA, studying graphic design in the late nineties.
Her work has been widely exhibited in California and throughout the United States.
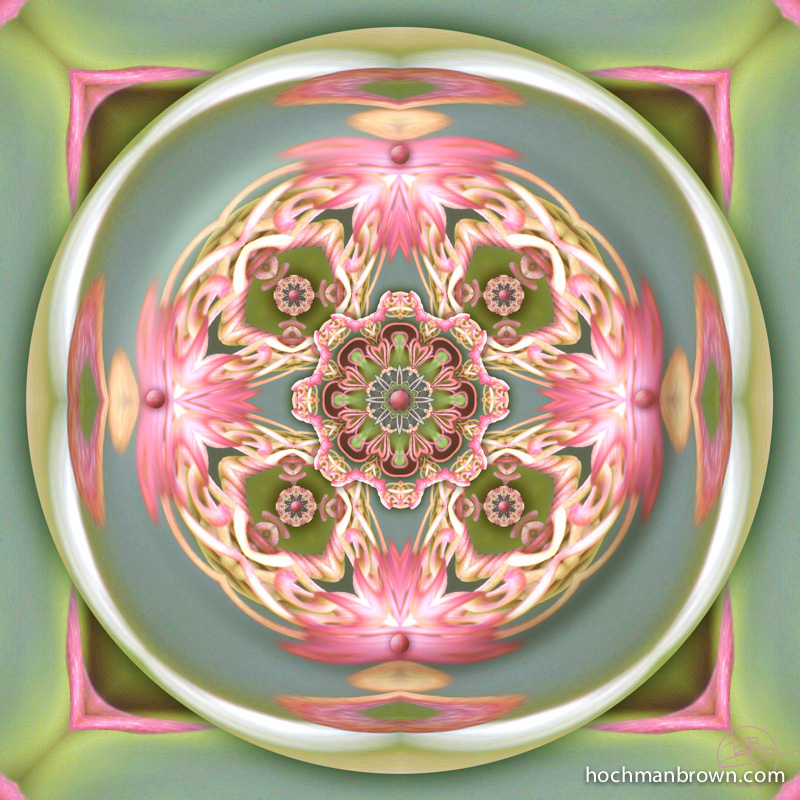
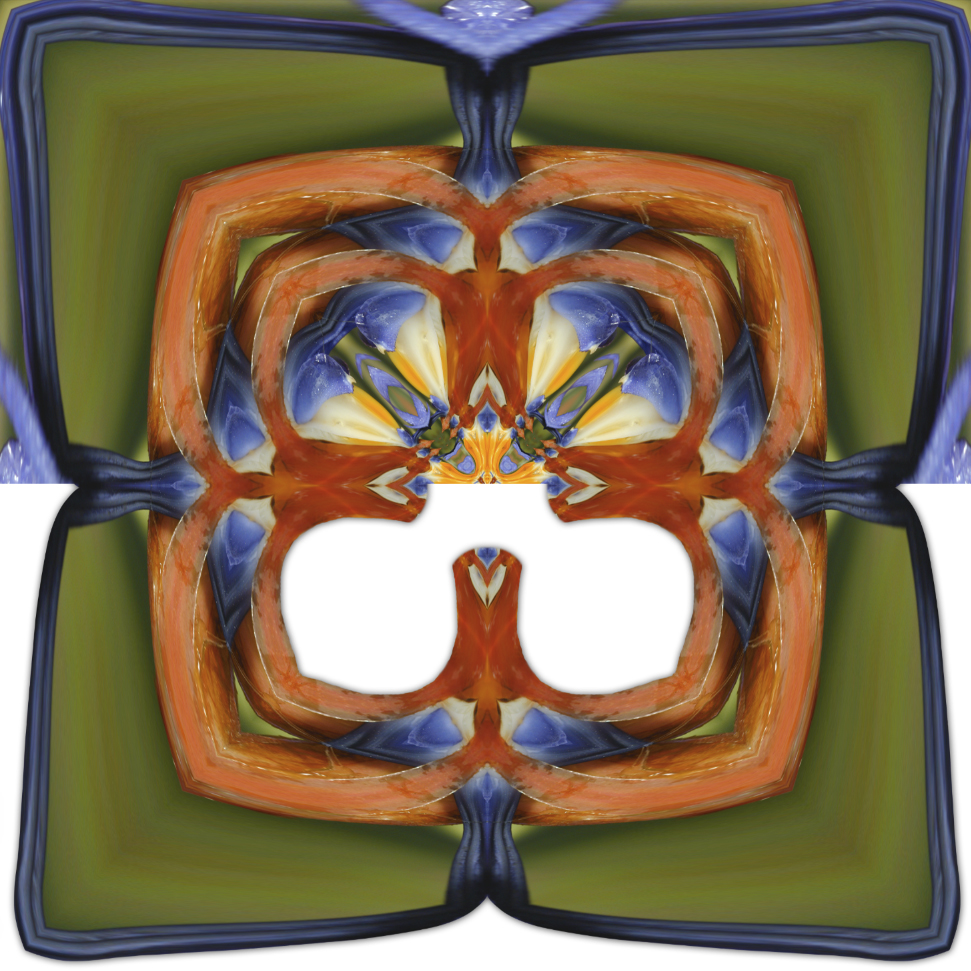
Passion Tendril Vessel
Early version of Passion Tendril Vessel.
I am always amazed at how what seems like a small change to a working image can transport it out of my “working” file and into my accepting it as a finished artwork. The piece Passion Tendril Vessel came together nice and easy. I had used a new technique to create the contoured edges of the main disk and loved the results. I had to battle a bit with the intensity of the tangle of vines that I used as my base image, but I was happy with the balance of the smooth spaces against the busyness of the vine.
Then I had to place my platter on a background and that’s where the fighting began. I always felt this was a dish of some sort and wanted to show it off like one might do for a fine porcelain plate. I fashioned clips from the vines and tied them into a simple background. It didn’t work the way I had wanted it to. I think I even lost the dish aspect; sometimes I’m too clever for my own good.
Back to the drawing board. After more false starts, I finally created the square themed background and was satisfied. The dark interior of the square helped set off the central motif. The vessel feels nested and safe in its new treasure box.
I love spending time with the sky. That’s where the sunsets live. It’s where the stars are. I am always fascinated by rainbows and will stop in my tracks to marvel at their beauty. I sometimes find them in clouds when there is no rain. I even see them circling a slightly misty full moon.
In Surf And Rainbow Clouds, Arching And Uplifting Five I made reflections from a wispy sky and lined them up in formation. I had the sky breach the horizon line here, adding an extra bit of surrealism to the seascape and its rainbow overlay.
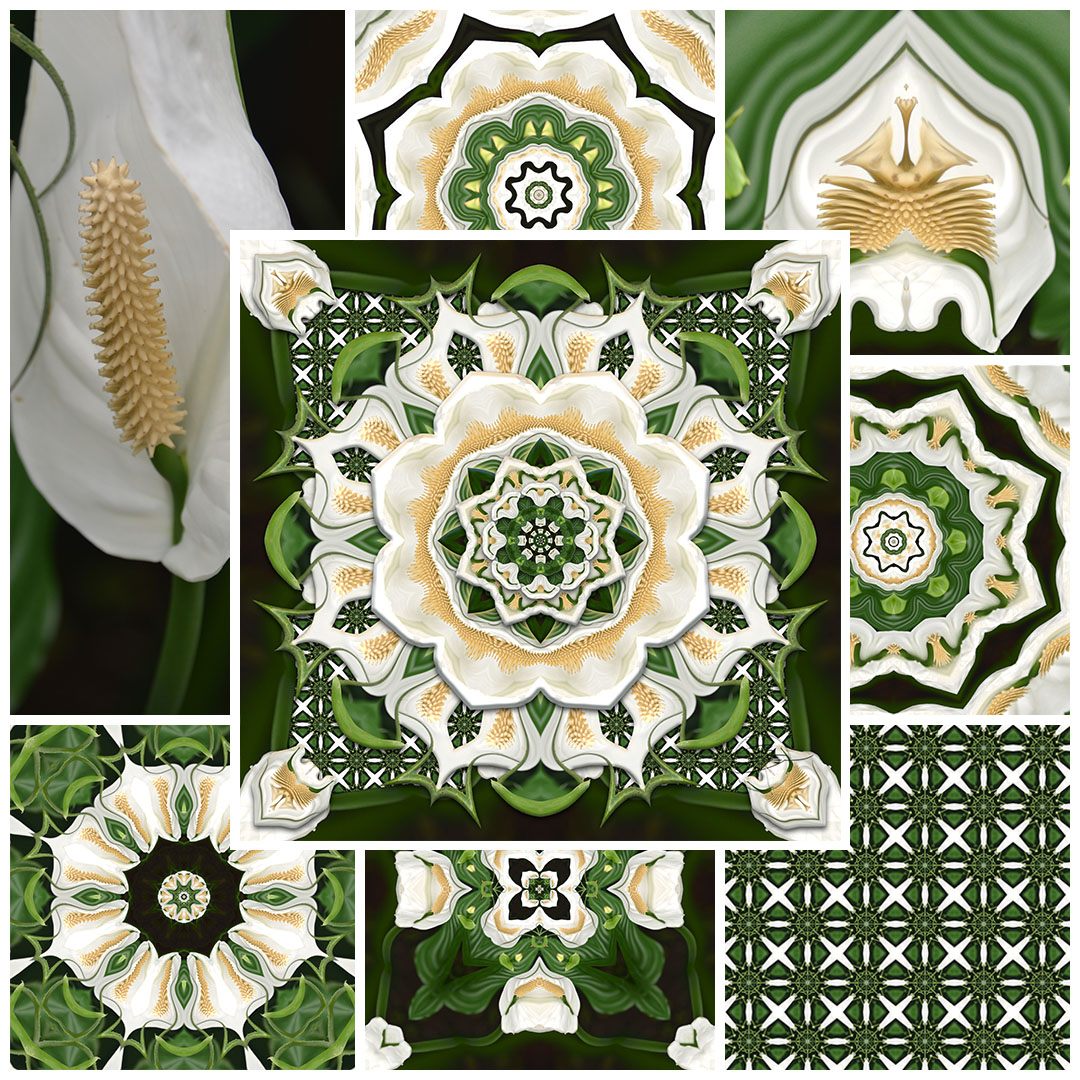
A montage of images use to create Peace Lily Nouveau
The peace lily exudes calm and serenity. Its starkly beautiful form and chaste simplicity easily flow into languid patterns.
At my third session creating artwork on site at the LA County Arboretum, the weather was gloomy. The diffused lighting allowed me to capture the delicate differences in the shades of white that cannot be captured when the lighting is bright.
I will return to the Arboretum on Saturday, June 4, 2016 (11:00 AM to 4:30 PM) for my fourth and final time making art there in conjunction with my exhibition,”Reflections in the Garden.” I will once again take up residence in the Gallery at the Arboretum Library, creating another artwork on site!
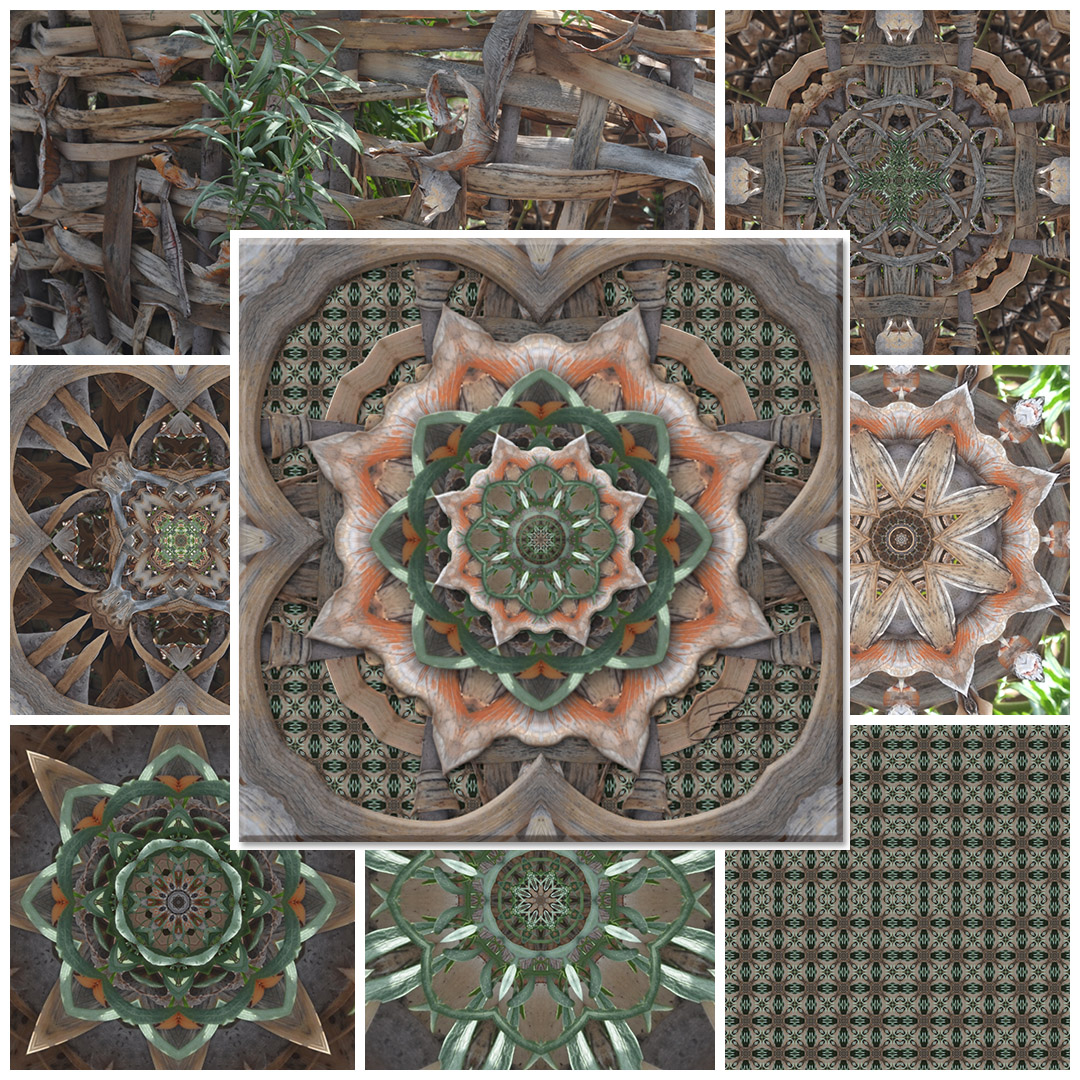
Enjoy this short animation that shows how the layers of Goji Draco Fabrication have been stacked to create the finished artwork. The first transition shows the image that was used as the base for all of the reflections.
“Goji Draco Fabrication” shown with its base image and the reflected foundlings that were used to make the artwork. Click the image for an enlargement.
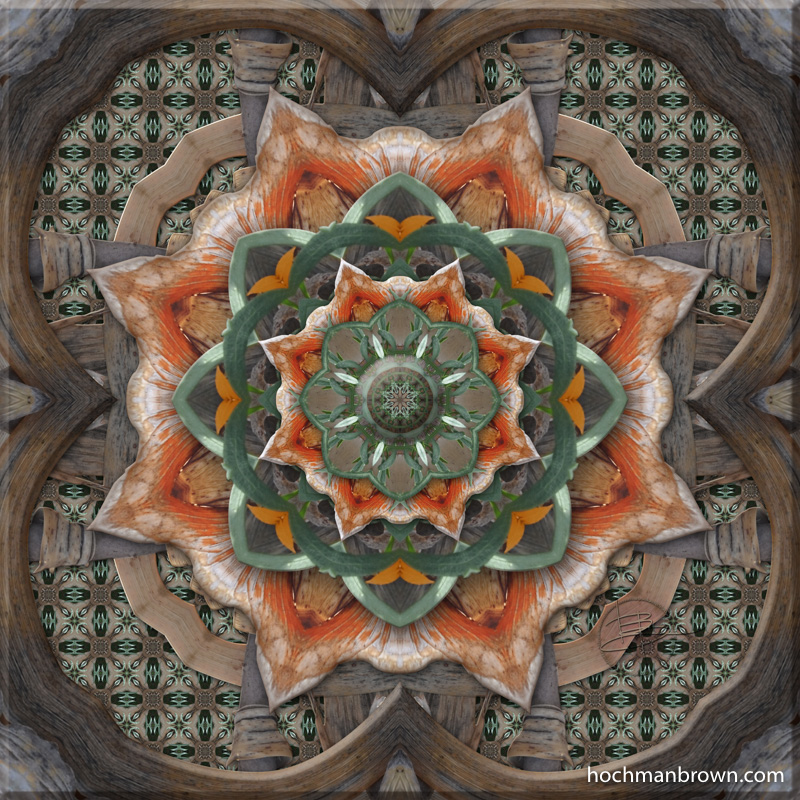
This last weekend at the Los Angeles County Arboretum, they celebrated the official opening to their demonstration garden, Crescent Farm, highlighting steps to create beautiful, bountiful gardens with less water. To tie into this milestone, I took my inspiration for this artwork from photographs I captured at “the crescent.” The area is abundant with native wildflowers. Additionally, there are interesting garden accents honed from natural materials. I found a mulch of bark laid out in a curved fan pattern. There were pathways lined with lengths of dried bamboo and logs around a tree in a talking circle.
But what really caught my eye was a woven support for an otherwise unkempt plant. What was once a bunch of garden castoffs is now a functional and esthetically pleasing structure. A Dragon Tree provided the material for the weave that now supports a variety of Goji Berry.
The piece I created as Artist-In-Residence at is “Goji Draco Fabrication.” Maybe it would have looked more dragon-like if I had known the source of the brown/orange material. I didn’t learn the identity of the plants until the artwork was complete. Many thanks to the Arboretum staff for helping me identify the subjects of my work.
Karen Hochman Brown (r), Artist-In-Residence @LA Arboretum
Last Saturday, I had the pleasure of sharing my art-making process at The Gallery at the Arboretum Library, (Los Angeles County Arboretum and Botanical Garden). I started at 11:00 in the morning by setting up my computer station. I am using a MacBook Pro with an external monitor. This enables me to mirror my screen and be able to talk face-to-face with people; they can see what I am doing without standing behind me.
Pumped-up Peacock with components. Click the image to see enlargement.
The next step was to take photographs to use for base images. I found some lovely bird of paradise and some gorgeous cacti. But I honed in on a peacock strutting his stuff. Many peacocks live at the Arboretum in Arcadia, CA, and in fact, peacocks are the official “city bird.”
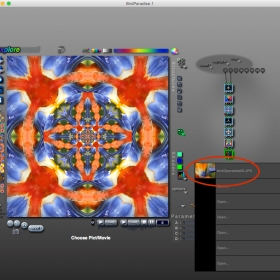
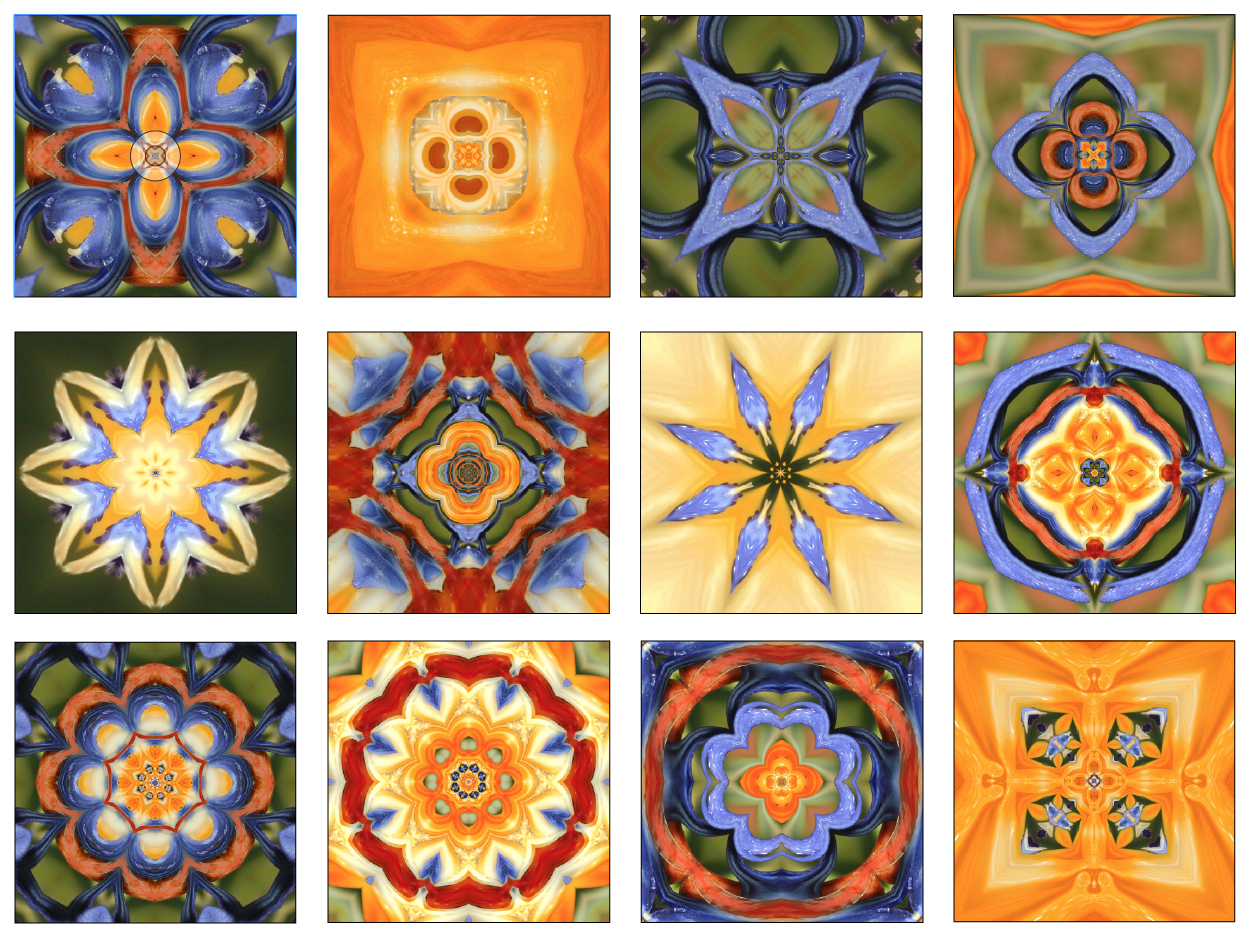
Once I decided on the image, I began creating layers of kaleidoscopic reflections. The program I use for this is ArtMatic Designer. It gives me some very powerful tools to change the shape of the mirrors. In a normal session, I will render out at least a dozen layers to select from. Click on the image of Pumped-Up Peacock for an enlarged version to see the layers and base images that were used to make the artwork.
For the remainder of the work I use Photoshop. The layers are cut apart, stacked and shaded until I decide the piece is done. This is the first time that I have created an entire artwork outside of my studio at home. I wasn’t sure I could do it considering the time constraints. I did it! I was able to finish the piece in five hours.
Next Artitist-In-Residence event:
April 16, from 11:00 am – 4:30 pm.
The gallery show continues through June 30, 2016.
Check the Arboretum website for hours.
My kaleidoscopic artworks are still on display at the Gallery at The Los Angeles County Arboretum. The show, Reflections In The Garden runs through the end of June, and is housed in the Arboretum’s newly renovated Library.
I’m happy to announce that I will be demonstrating my creation process on four separate occasions, onsite at the gallery. I’m taking my camera and computer and will create a new piece, from start to finish over a five hour period. In each session, I will begin by taking photographs around the Arboretum grounds. I will select an image to work with and then make several layers of the image, reflected in many ways. I will continue with my process until I (hopefully) finish an artwork. Come watch me work.
•
Join me at the Arboretum!
To get to the Gallery at The Los Angeles County Arboretum, go to the main entrance and the Library is immediately to the left, through the double doors. Admission or membership are required to tour the grounds, however it is not required to visit the Library.
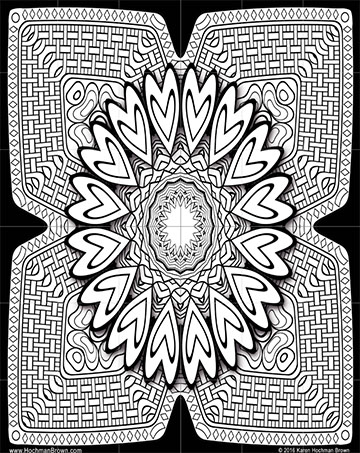
I have been trying to turn my artworks into coloring book pages. I think the kaleidoscopic mandalas that I create lend themselves to this. However, with so much texture in my artworks, I have been unable to translate them into stark black and white. So I have been working with line doodles that I created in Adobe Illustrator and spinning them into fanciful creations that are suitable for coloring. My plan is to make enough of them to create a book, or at least an ebook.
Click on image to download full size
For Valentines Day, I am presenting a page that you can download for free! Print at home and color with your favorite crayons, colored pencils or markers. Feel free to distribute this page to your friends. Have fun.
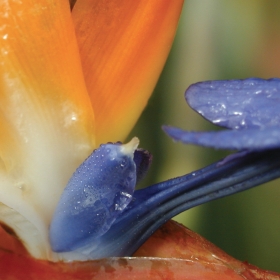
Bird Paradise base imageArtmatic graphic synthesizer
Every one of my kaleidoscopic artworks starts with a photograph. I’m going to use as an example the piece Bird OParadise. As you might have guessed, the subject is the bird of paradise flower. The sturdy purple and orange blossom shows up against a muted green background. They come together for a natural display of secondary colors. Pay special attention to the blue-violet flower petal speckled in dewdrops emerging from the structural flower’s beak-like sheath or spathe.
I import the base image into a graphic synthesizer program (ArtMatic) for manipulation. The photograph is filtered through a variety of mathematical transformations—stretched, bent and reflected through fractals, polar space and fun-house mirrors. Interesting results are saved as key-frames that can be rendered into large-scale graphic files.
Twelve foundlings for Bird OParadise
The key-framing process allows an image to be animated over time (videos) however, for this series, I only capture the still frames, instructing the software to render the kaleidoscopic reflections. I call the resulting images “foundlings.” I collect the foundlings and tuck them away in a folder, preparing for a digital collage.
Masked foundling
After creating several foundlings, I examine them in large scale—sorting, selecting and sometimes creating more, as the artwork requires. I prepare the selected foundlings in Adobe Photoshop using a technique called masking (think of a digital X-acto with a lot more control). I gather the masked foundling into layers and manipulate the light and shadow to enhance the illusion of depth in the finished artwork.
I was working on Judaic Art but had hit a roadblock. I wanted to have my designs custom printed on silk to make into prayer shawls (tallit). The results were beautiful, but the cost was too high to make them profitable. I was frustrated and needed another artistic outlet.
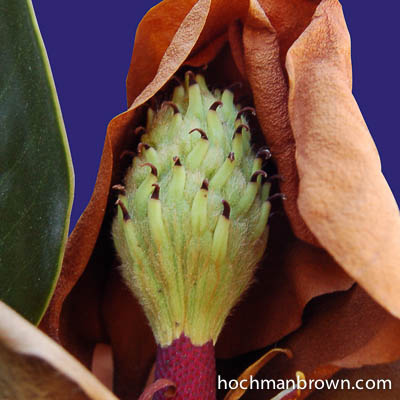
In January of 2011, I attended an inspirational seminar, Matrix Energetics. And while I did not become a practitioner like my brother, it did lead me to begin my series of photography-based kaleidoscopic artwork. When I got home, I created the first piece, Magnolia Pod-me Hum. The base image is a magnolia pod from a tree in my garden. It was placed there by my landscape designer as his gift to me and as a reminder of his business, Mother Magnolia.
Base image for Magnolia Pod-me Hum
I was looking though the various experimentations I had done with U&I Software’s Artmatic, a modular graphics synthesizer that I enjoyed fiddling with. I found an example I made from a piece of beach rock marked with holes. It was a simple reflection without any further manipulation. But it gave me the spark to play around with the idea of incorporating photographs into the six-pointed stars I had been creating in Artmatic and manipulating in Photoshop.
Holey Beach Rock
An idea was born. I used the Artmatic parameter tree (see blog post, Where did it all begin? Part 1) from Holey Beach Rock as my starter point. I made many variations on the theme with the photograph of my magnolia pod as the source. I took the resulting renders and imported them into Photoshop to be masked, shaded and layered. I decided the result needed a little something extra so I put in little versions of the magnolia pod and some dots. I can’t remember why I decided to try dots, but they seemed to work and added an extra something. The result was Magnolia Pod-me Hum–the first of what would become a series in excess of eighty pieces and still growing.
In the beginning, I set myself up with some rules, kind of like an assignment. I alway said that I work best under assignment. This time it didn’t come from the outside. My pieces would be made from a single photograph. They would be six-sided symmetry. They would have dots. I made eleven pieces like that until I created Rose Frills In Four which is titled such because I used a four-sided symmetry. Then with twelve pieces in the series, I made my second calendar.